| Docker |
Kubernetes |
| docker |
podman |
| docker-desktop |
podman-desktop |
| docker compose, docker swarm |
podman compose, kubernetes yaml |
podman
Tool for managing OCI containers and pods
 1
 2
 3
 4
 5
 6
 7
 8
 9
10
11
12
|
# install podman
brew install podman
# create the virtual machine for podman
podman machine init
# start the virtual machine and set up the connection to podman
podman machine start
# stop the virtual machine
podman machine stop
# connect the vm podman-machine-default
podman machine ssh
# remove the virtual machine
podman machine rm
|
To create and start the virtual machine that is needed for podman:
1
2
3
4
|
podman machine init --cpus 2 --memory 2048 --disk-size 20
podman machine start
podman system connection default podman-machine-default-root
podman info
|
Useful podman commands:
 1
 2
 3
 4
 5
 6
 7
 8
 9
10
11
12
13
14
15
16
17
18
|
# searches a registry or a list of registries for a matching image
podman search busybox
# Run a process in a new container
podman run -it docker.io/library/busybox
# Builds an image using instructions from one or more Containerfiles or Dockerfiles and a specified build context directory
podman build -t nginx https://git.io/Jf8ol
# Run a process in a new container
podman run -d -p 8080:80 nginx
# log in to quay
podman login quay.io
# tag the image
podman tag localhost/nginx quay.io/USERNAME/nginx
# push the image
podman push quay.io/USERNAME/nginx
# display the low-level information on containers and images
podman inspect quay.io/USERNAME/nginx
# list the running containers
podman ps
|
podman-desktop
Browse, manage, inspect containers and images
1
|
brew install podman-desktop
|
kubernetes yaml
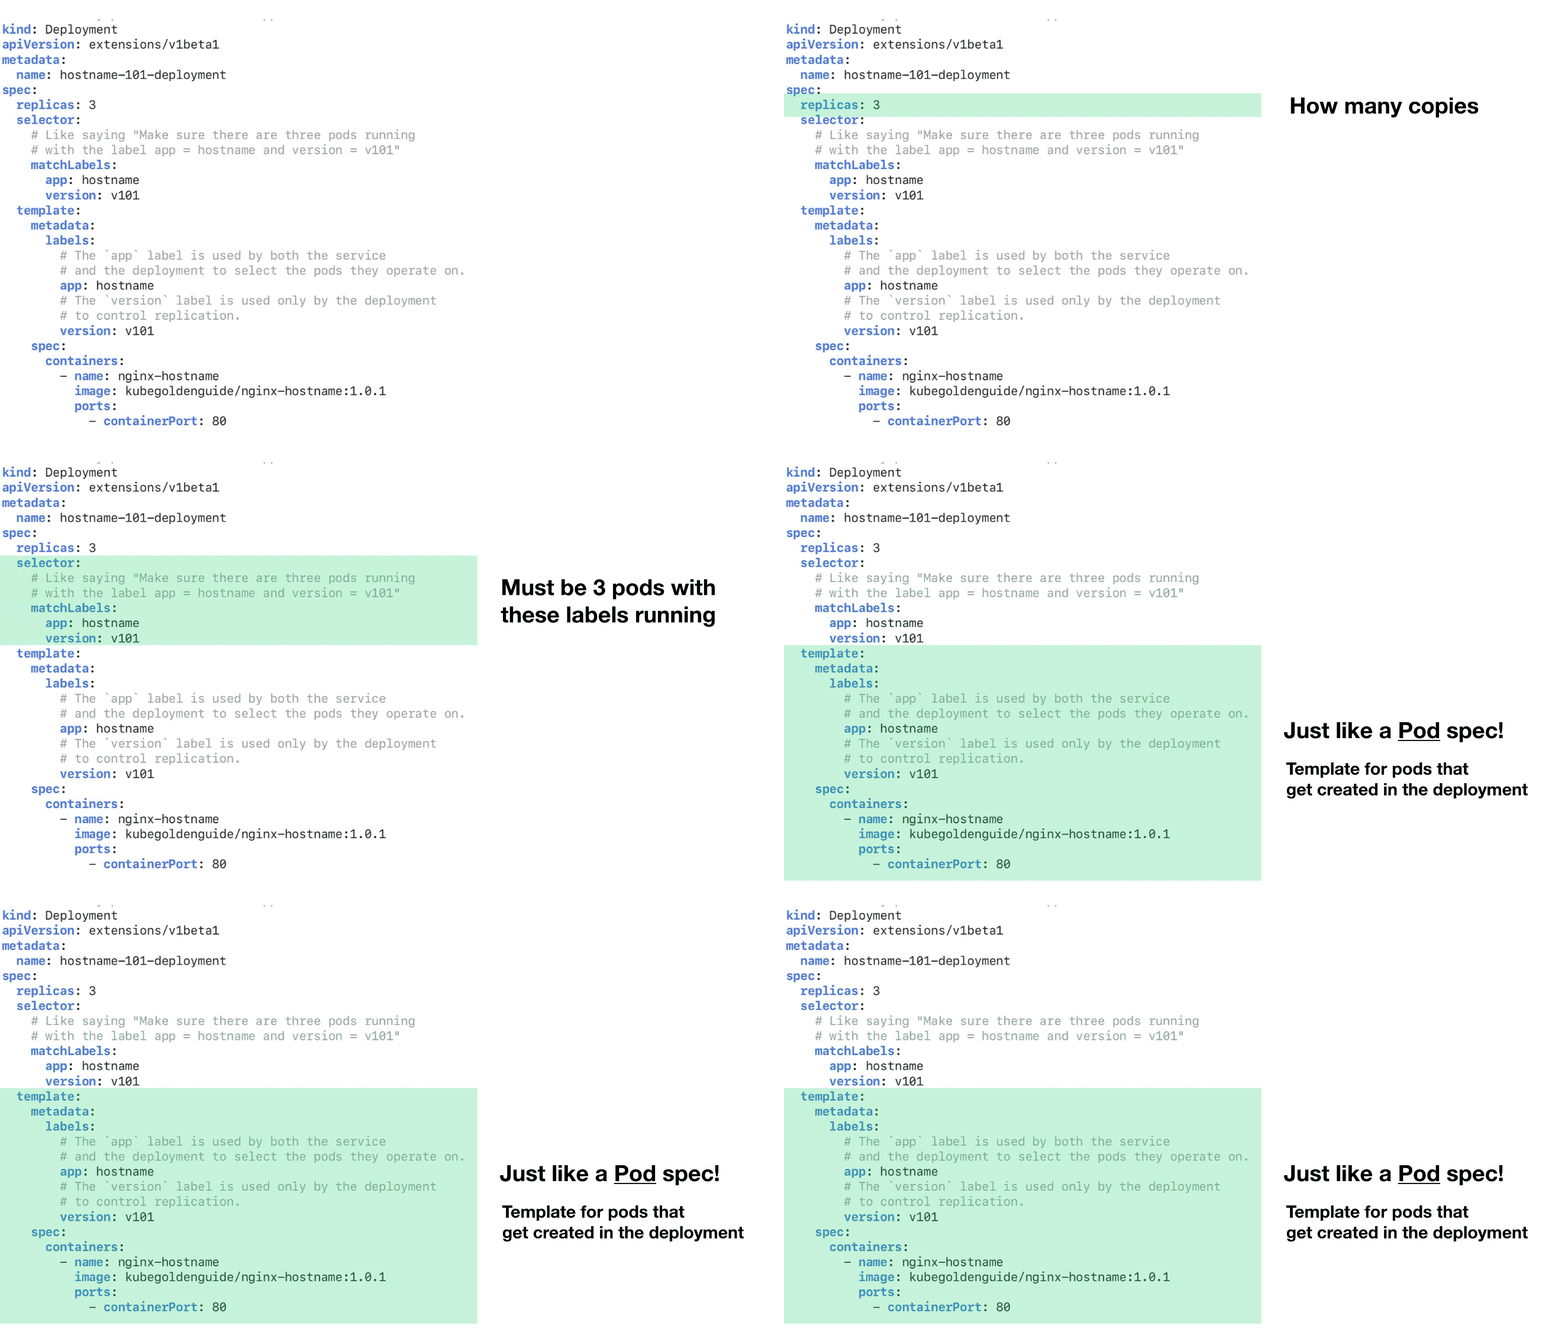
It is recommended to use Kubernetes YAML instead of Compose.
You provide the information to kubectl in a deployment.yaml file. kubectl converts the information to JSON when making the API request. Below is an example .yaml file to for describing a Kubernetes object.

To create a Deployment using a .yaml file:
1
|
kubectl apply -f [path-or-url-of-the-deployment file]
|
kubectl
Kubernetes command-line interface
1
2
3
4
5
6
7
8
|
# install kubectl
brew install kubectl
# or
brew install kubernetes-cli
# Test to ensure the version you installed is up-to-date
kubectl version --client
# Check that kubectl is properly configured by getting the cluster state
kubectl cluster-info
|
If you see a message similar to the following, kubectl is not configured correctly or is not able to connect to a Kubernetes cluster.
1
|
The connection to the server <server-name:port> was refused - did you specify the right host or port?
|
For example, if you are intending to run a Kubernetes cluster on your laptop (locally), you will need a tool like Minikube to be installed first and then re-run the commands stated above.
If kubectl cluster-info returns the url response but you can’t access your cluster, to check whether it is configured properly, use:
1
|
kubectl cluster-info dump
|
minikube
minikube is local Kubernetes, focusing on making it easy to learn and develop for Kubernetes.
1
2
3
4
|
# install minikube
brew install minikube
# start your cluster
minikube start
|
1
2
3
4
5
6
|
# start minikube with the qemu driver
minikube start --driver=qemu
# start minikube with the podman driver only
minikube start --driver=podman
# make podman the default driver
minikube config set driver podman
|
By default, minikube executes Podman with sudo. To use Podman without sudo (i.e., Rootless Podman), set the rootless property to true:
1
|
minikube config set rootless true
|
For Rootless Podman, it is recommended to set --container-runtime to containerd:
1
|
minikube start --driver=podman --container-runtime=containerd
|
